
Rescuing PJs – when pyjamas won’t leave the party
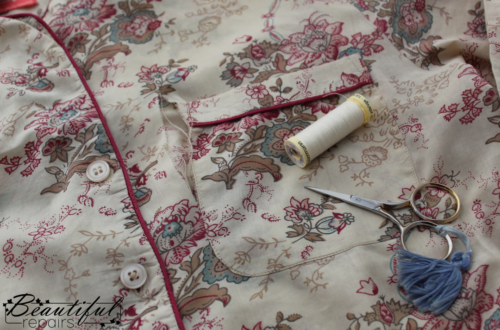
These PJs were a TK Max find, bought when it was really closer to a clean jumble sale than a clothes shop. The originals are fine cotton, cool in summer, slightly more girly than my normal clothes but nicely made with piping and stuff.
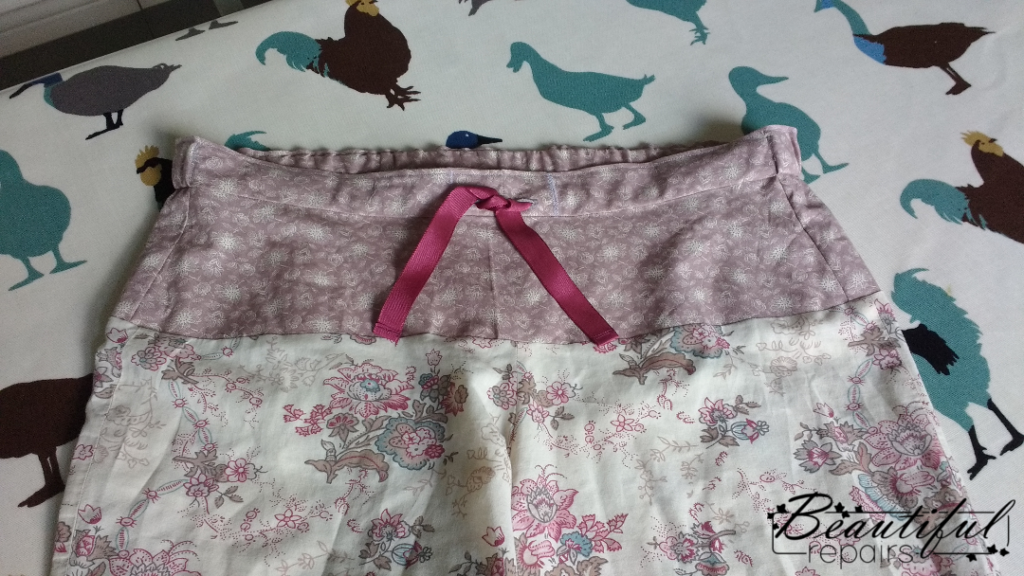
I discovered that I normally sleep on my back AND don’t stay still, all over the back waistband the fabric was literally wearing away. I’d just started volunteering at the Repair Cafe, it had only just begun in our town and some months we had more volunteers than visitors so I’d learnt to take some of my own sewing. This seemed like a perfect project to do there, not involving large bits of fabric or anything too tricky on the sewing front. I could easily pick it up and put it down again when a repair walked in. I decided I’d replace the whole of the top of the trousers, copying the original as closely as possible (although I made the front rise a bit bigger for comfort). This is a fairly simple repair that anyone with sewing skills can tackle.
I touted my PJs around the local sewing shop to get some cotton fabric to blend in – buying slightly thicker than before, hopefully to last longer. I also decided to replace the elastic in the back and the ribbon, the old ones were wearing out so it would be pointless to put them back in.
The process, with 1cm seam allowance:
- Decide where you want the join, cut about 1cm higher.
- Use the cut fabric as a template, helps to take out the elastic and press it, so you see the true size.
- Don’t forget seam allowances and the fold at the top and little hem inside – your new fabric will be 2cm taller than the original piece of fabric. Cut out your new piece.
- Stitch the side seams in your new fabric.
- Join new top to bottom, matching side seams. Finish edges with zigzag stitch, press open or overlock and press down.
- Make button hole openings for ribbon in centre front (remember the top fabric will be folded inside so these could be around 6cm below top edge of fabric)*
- Press under tiny hem on top, fold over top to slightly more than width of elastic, press to create top fold.
- Open up and place back elastic on lower part of channel (i.e.under the fold line), pin at sides and check fit, cut elastic. Remember you’ll have ribbon at the front so don’t make the back too tight.
- Place a piece of ribbon at each side, overlapping the ends of elastic at the side seams, pin there and bring them towards the centre front, threading the ribbon through the button holes.
- Securely stitch elastic and ribbon at side seams, fold down top to make channel and stitch all around waist carefully avoiding sewing onto the elastic or ribbon (you could use a topstitch machine foot).
- Finish the ends of your ribbon either with a small hem (you can also seal the ends quickly in a flame but it’s really fumy).
- Wear your renewed PJs with pride.
*this step not required if using elastic all the way round, just create the channel leaving a gap in the stitching, thread in the elastic, pin ends together, check size and stitch overlapping elastic, handstitch up the gap.
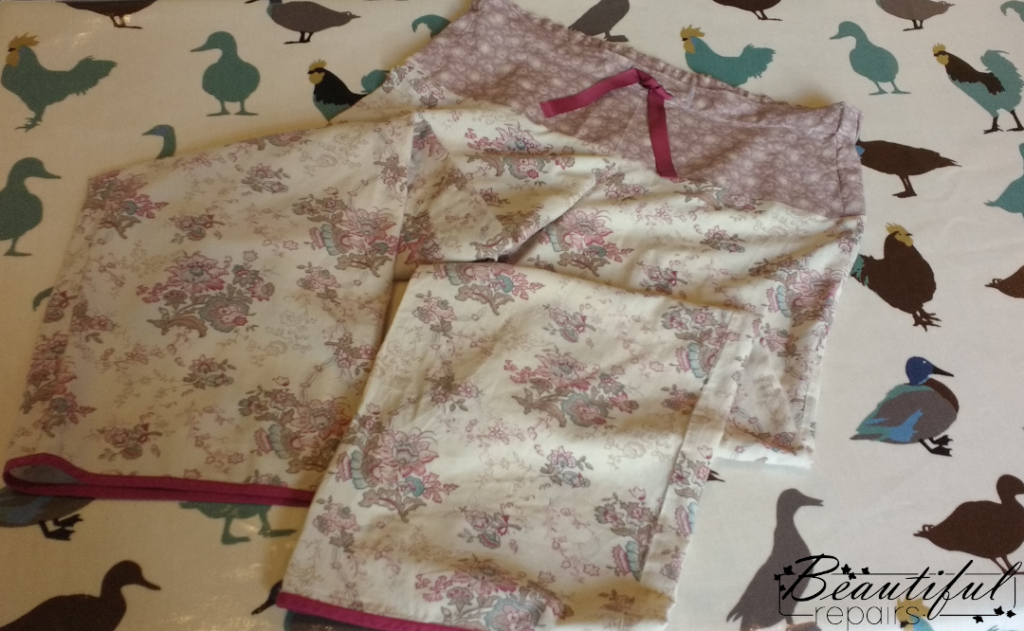
These PJs literally became better than new with this repair, as by altering the rise at the front they were much more comfortable. I kept the old fabric and was really glad I did as soon afterwards the cotton around some of the buttons started to give, I reinforced it inside with interfacing and patched the area around the button with the old fabric. You can see it close up, but further away?? Nope!
See for yourself – here!

One Comment
Alan Lord
That is a lovely post – very interesting.