
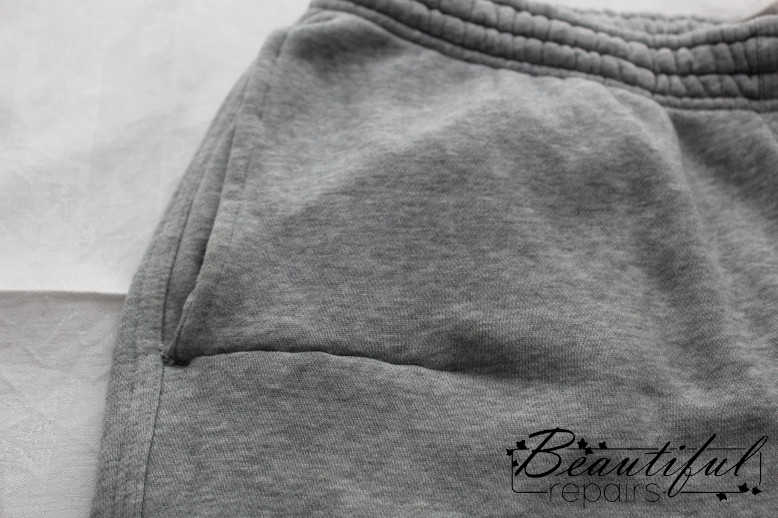
Jack’s Trackies – Pocket Repair – Stretch fabric
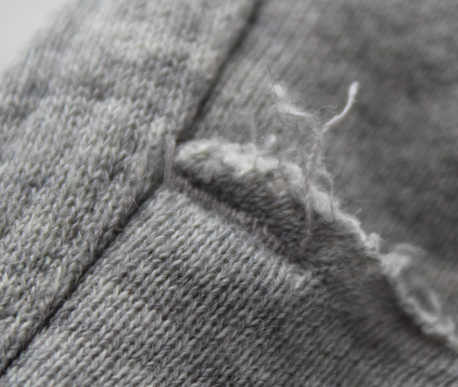
My friend’s son had done the classic – caught his pocket on something, probably a door handle, ripping both the outside and inner pocket bag. It’s in an area where lots of seams come together around the pocket opening. It’s a knit fabric, stretchy and it’s for a teenage boy who doesn’t want a visible repair. My friend will pass these on once her son has grown out of them so the repair needs to last as long as the trousers.
I spent quite a lot of time debating with myself what order I could do this in and whether I should open up the outside leg seam. You’ll see it’s heavily overlocked with that type of stitching that can unravel very easily and I knew I’d find it hard to make it look as even so I decided to leave that intact for strength. I decided to focus on the cosmetic bit first and sort out the ripped pocket bag inside afterwards.

1. The leading edge of the pocket was coming apart so I decided to do that first as I might forget to do it at the end.
It was happening on the other side too – probably resting his hands in his pockets had stretched the stitching to breaking point. The top stitching was loose too where the bobbin thread had broken. You see this very frequently on stretch garments.
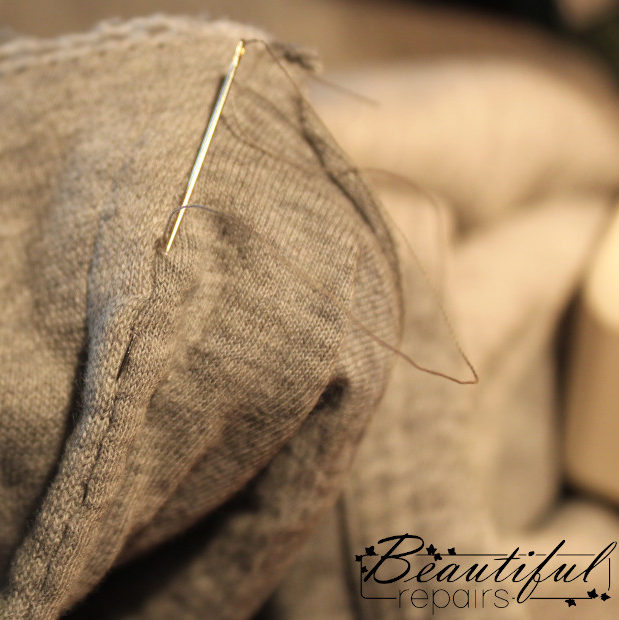
I quickly machined the bottom of the pocket edge seam as far as I could go leaving a fairly long tail of thread so I could hand stitch higher up where the machine wouldn’t fit. I slipstitched the edge of the seam, moving the needle from one side to the other occasionally doing a couple of backstitches to reinforce it a little.
2. This reinforcing bar of stitching needed to come out as it was in the way – seam ripper did the job.
3. I pinned the two outside edges of the rip right sides together to see how flat the front of the trousers would lie if I made them into a tiny seam. Normally on woven fabric you can’t take out this much and have to marry up the two sides of the rip flat, reinforce underneath and stitch over the join. Here the knit fabric was more forgiving and I also thought Jack wouldn’t want lots of stitching visible. If it didn’t work I could go back to the normal method.
I decided to use a narrow lightning stitch, putting the right sides together and stitching along, the very last stitches I changed to straight stitch to get really close to the edge. I did a couple of stitches in the same spot and then knotted the ends, threading the ends into a needle and burying them where it wouldn’t show (in the “seam allowance” – ie right by the cut edge)
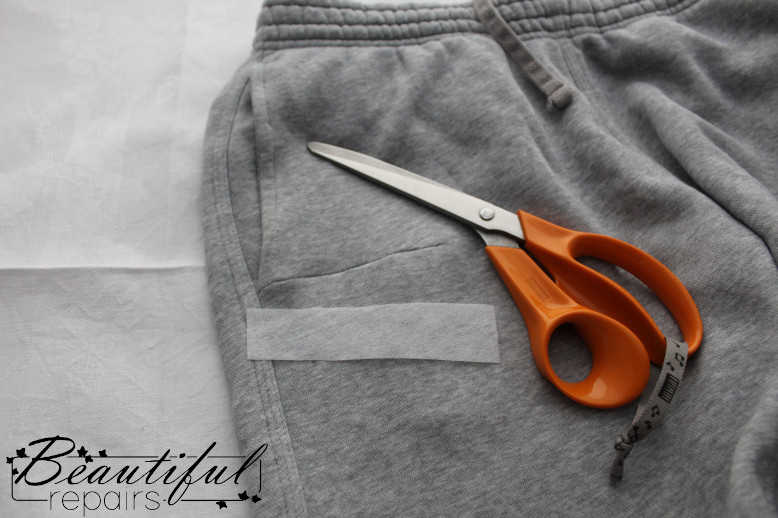
4. I knew as I’d sewn close to the edge I’d need to reinforce the area around the rip with some iron on interfacing. Luckily this fabric only stretches vertically not sideways so this little unstretchy line across shouldn’t cause big problems.
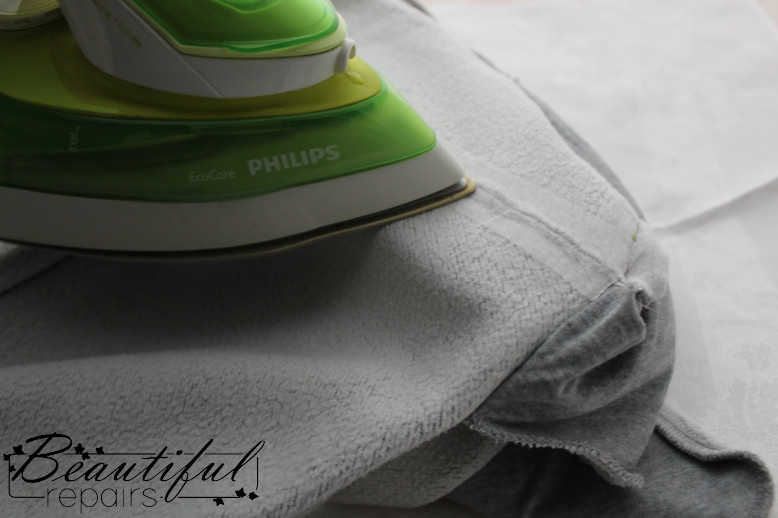
5. On the wrong side I pressed my tiny seam open, ironing made a huge difference – it looked miles better. I used a bit of steam. On synthetic fabrics you have to be very careful not to create a shiny line, use a low heat and a scrap of thin cotton fabric/pillowcase to protect it.
6. I applied a small strip of iron on interfacing, being careful to use the tip of the iron right along the stitch line first to keep the seam open.
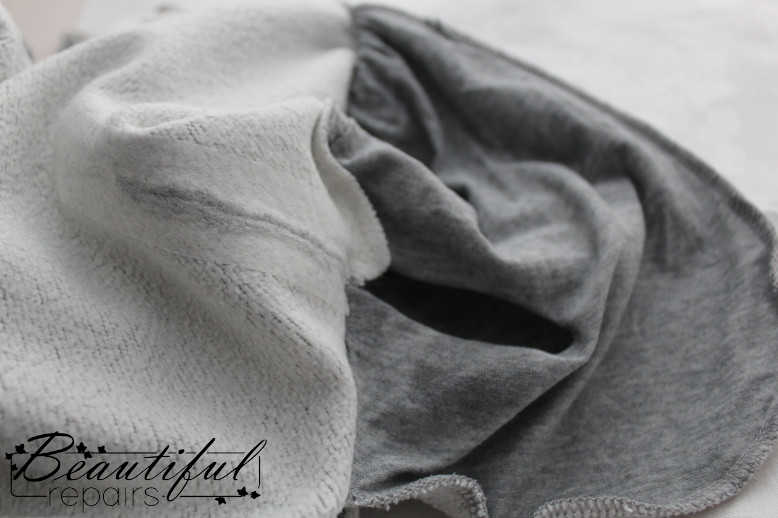
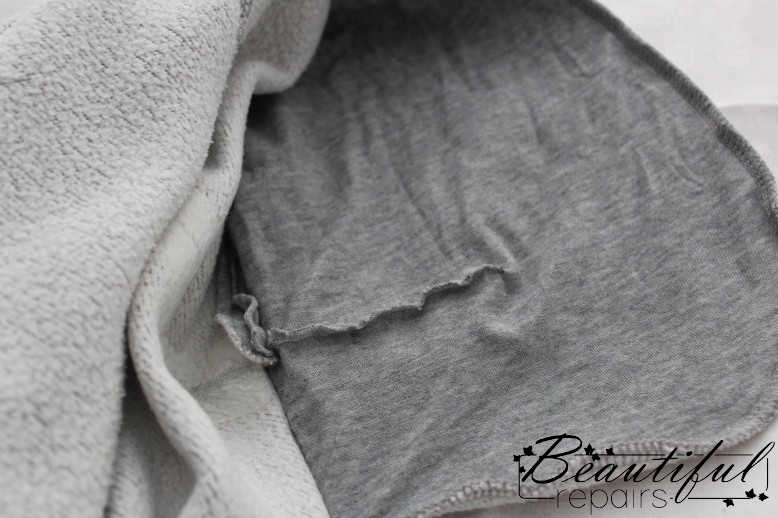
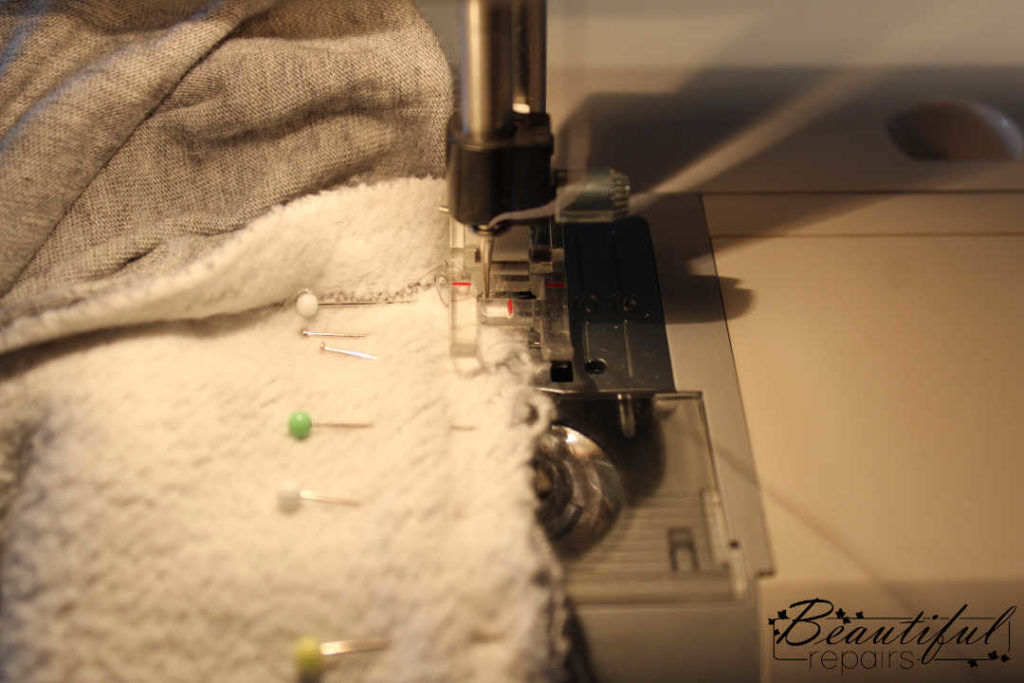
7.The ripped side of the pocket bag was really thin, stretchy fabric. Again I used a lightning stitch to close it up, putting the right sides together and stitching close to the edge. It was stretchy enough to cope with the tiny loss of fabric without pulling oddly.

8. I put the top stitching back on the front edge of the pocket using the sewing machine (hand stitching the very last few stitches at the bottom), plus a small bar of stitching across the bottom, trying to match the other side. I decided the bar could extend a little to help strengthen the join of the bottom of the pocket to the side seam.
Then I noticed a small hole on the front leg…
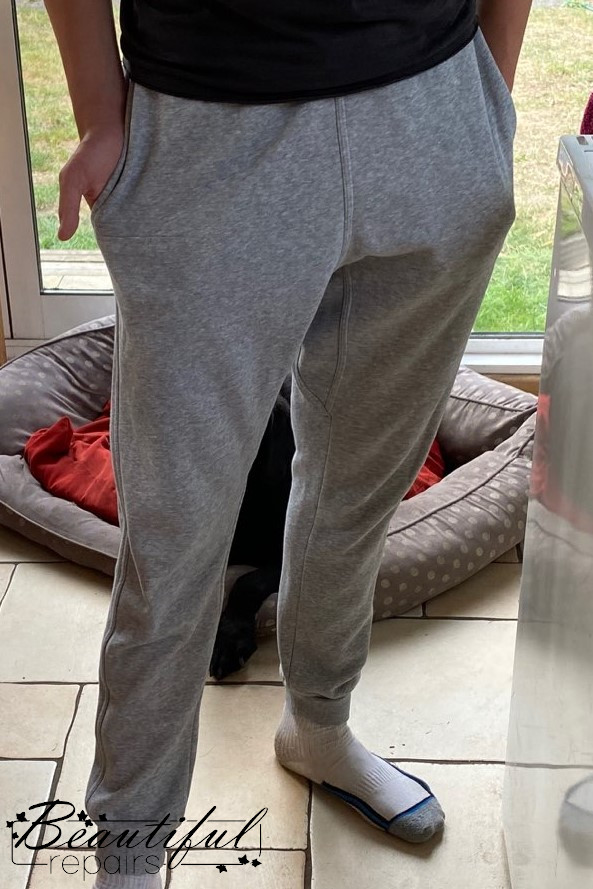
Jack with his repaired trackie bottoms.
This repair had taken a while to do properly but I was pleased it hardly showed. Definitely one for the success list!
